Table of Contents
ToggleIntroduction: Understanding The Exterior House Painting Process
When it comes to painting the exterior of your home, it’s important to understand the process to know what to expect. From choosing the right paint to preparing the surface and applying the paint, there are several steps involved in exterior house painting. In this article, we will explore the different stages of the process, so you can be prepared and informed.
Step 1: Setting Up The Work Area
Setting up the work area is an essential part of the exterior house painting process. It involves clearing the area around the house, removing any furniture, and covering nearby plants and landscaping to protect them from paint splatters. The painting contractor or DIY painter will also need to set up ladders, scaffolding, and other equipment needed to access higher areas of the home’s exterior. This step is critical for ensuring a safe and efficient painting process.
Step 2: Preparing The Surface
The second step in the exterior house painting process is preparing the surface. This includes cleaning the surface to remove any dirt, debris, or mildew, repairing any damage or cracks, and sanding the surface to ensure the paint adheres properly. It’s also essential to prime the surface before painting to ensure the paint lasts longer and adheres better. Proper preparation is critical to achieving a professional and long-lasting paint job.
Step 3: Applying The Primer
After the surface has been prepped, the next step is to apply the primer. The primer serves as a base layer for the paint and provides several benefits such as better adhesion, increased durability, and improved coverage. It also helps to even out the surface, filling in any pores or imperfections, and creating a smooth surface for the paint to adhere to.
When selecting a primer, it’s essential to choose one that’s compatible with the type of paint being used and the surface it’s being applied to. Some surfaces may require a specific type of primer, such as metal or masonry surfaces, which have different properties and require different types of primers.
The primer should be applied evenly, using a brush or roller, in thin coats to avoid drips and to ensure proper adhesion. It’s important to allow the primer to dry completely before applying the paint, which can take anywhere from a few hours to overnight depending on the type of primer and the environmental conditions.
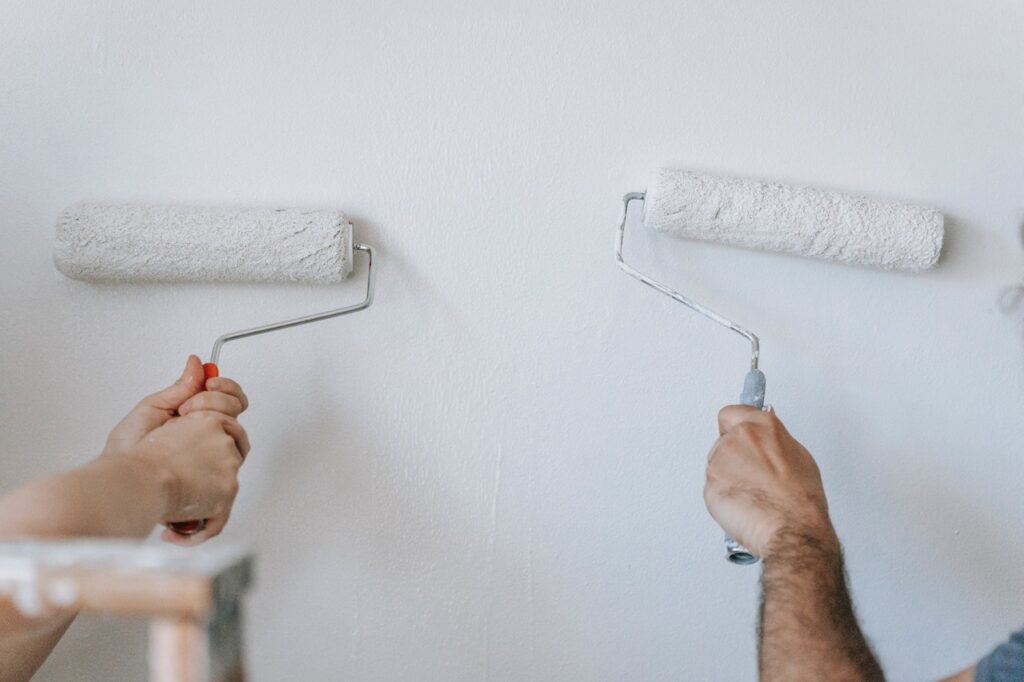
Step 4: Applying The Paint
Once the primer has dried completely, it’s time to apply the paint. It’s recommended to use two coats of paint for better coverage and durability. Apply the paint in a consistent and even manner using a brush, roller, or sprayer. Make sure to follow the recommended drying time between coats. When painting the surface, work in sections and paint from top to bottom. Use long strokes in the same direction to avoid visible brush or roller marks. It’s important to maintain a wet edge and avoid letting the paint dry before blending with the next section. Depending on the paint type and weather conditions, it may take several days for the paint to fully dry and cure. During this time, avoid touching or rubbing the painted surface to prevent smudging or damaging the paint.
Step 5: Touch-Ups And Final Inspection
After the paint has dried, the painters will inspect the job for any missed spots or imperfections. Any necessary touch-ups will be made, and a final inspection will take place to ensure that the paint job meets the homeowner’s expectations. The crew will remove any masking tape or coverings, clean up the work area, and restore any outdoor fixtures or furniture to their original locations. The homeowners will be invited to inspect the work and provide feedback, and the crew will make any final adjustments to ensure complete satisfaction. The project is considered complete once the homeowner approves the finished product.
Conclusion: Achieving A Successful Exterior House Painting
Achieving a successful exterior house painting requires a thorough understanding of the painting process. By following the steps involved, homeowners can ensure a professional and long-lasting result. Setting up the work area, preparing the surface, applying the primer, applying the paint, and performing touch-ups and a final inspection are all critical steps in achieving a high-quality paint job. Each step plays a significant role in the outcome of the project, so it’s crucial to take the time to complete each step correctly. By understanding and following the exterior house painting process, homeowners can ensure a successful outcome and a beautiful home exterior.
Our Experts’ Take
According to Paul F. Aubin, a practicing architect and author, exterior house painting can significantly enhance a home’s appearance and value, but the process can be overwhelming for some homeowners. He suggests hiring a professional painter who can ensure proper preparation, use high-quality materials, and apply the paint with the correct technique for a long-lasting and beautiful result.
Similarly, Bob Vila, a renowned home improvement expert, recommends hiring a professional painter for complex painting jobs or large houses, as they have the necessary tools and experience to handle the project efficiently. However, he also acknowledges that some homeowners may choose to tackle exterior painting on their own, in which case he advises thorough preparation and proper safety precautions.
Overall, experts suggest that homeowners carefully evaluate their skills, time, and budget before deciding whether to DIY or hire a professional for exterior house painting. They also stress the importance of proper preparation and quality materials to achieve a successful and long-lasting paint job.
Do You Need A Professional House Painting Team You Can Trust?
Refresh your home and space with the experts at PaintMasters! Since 1994, PaintMasters has been the top residential and commercial painting company in Concord, California. We proudly serve Lamorinda, Tri-Valley, Contra Costa, and the surrounding areas. With our cutting-edge technology, unparalleled expertise, and state-of-the-art 15,000 CFM spray booth, you can be sure that your cabinets will receive a top-notch finish. Our team of experienced professionals is expert in painting interior and exterior custom homes plus decks, acoustic removal, drywall repair, and texturing – so you can trust that it’s done right the first time.
We also specialize in staining for interior or exterior walls, cabinets, doors, decks, and other woodwork for both homes and commercial projects such as office spaces and restaurants. Whether you need to refresh a tired old room or give a new room an individual touch of style – PaintMasters is here to help. We are dedicated to delivering a flawless finish on every project with our unique blend of design instinct and technical skills certified by our professional results.
