Wall flaws can be a real headache for homeowners. From unsightly indentations and holes to uneven surfaces, these imperfections can detract from the overall look and feel of a room. There is a solution that can transform your walls and give them new life – textured paints. With their unique application method, textured paints offer an effective way to conceal common wall flaws and add character to any interior space.
Table of Contents
ToggleUnderstanding Wall Flaws and Textured Paints
Types of Wall Flaws
Wall imperfections can be a common occurrence in any home. From cracks to dents, these flaws can detract from the overall appearance of your walls. Cracks can occur due to settling or shifting of the foundation, while dents may result from accidental impacts or improper installation. Nail holes are another type of imperfection that can be left behind when removing wall decor.
How Textured Paints Can Help
Textured paints offer a solution to hide these unsightly wall flaws effectively. By applying textured paint, you create a visually appealing surface that helps camouflage imperfections. The texture adds depth and dimension to the walls, diverting attention away from any cracks or dents.
Benefits of Using Textured Paints
Using textured paints over traditional methods has several advantages. Firstly, they provide an easy and cost-effective way to conceal wall flaws without the need for extensive repairs or patching. Secondly, textured paints offer durability and resistance against wear and tear, making them suitable for high-traffic areas prone to damage. They add character and style to a room, allowing you to express your creativity through various textures and finishes.
Incorporating faux painting techniques with textured paints opens up even more possibilities for creating unique designs on your walls. Faux finishes such as sponging or rag rolling can further enhance the visual appeal by adding depth and interest.
Dents, and nail holes, textured paints provide an effective solution that not only hides imperfections but also adds aesthetic value to your space.
The Science of Textured Paints for Wall Repair
Delve into the science behind textured paints and their ability to mask flaws.
Textured paints are a popular choice for homeowners looking to repair common wall flaws. But have you ever wondered how these paints work their magic? It all comes down to the science behind them.
When applied, textured paints contain additives that create a three-dimensional texture on the surface of the wall. These additives can be made from various materials such as sand or other gritty substances. The purpose of these additives is to cover up imperfections like cracks, dents, or uneven surfaces by adding depth and dimension.
Understand how texture additives work to create a visually appealing finish.
Texture additives in paints act as fillers that help smooth out rough areas on walls. They are designed to provide coverage and hide any underlying flaws. The particles in these additives create a rough surface, which diffuses light and helps mask imperfections.
The texture created by these additives also adds visual interest to your walls. It can give your space a unique look and feel, enhancing the overall aesthetic appeal of your home. Whether you prefer a subtle texture or something more pronounced, there are various options available to suit your taste.
Discover the various textures available and their impact on wall repair.
Textured paints offer different finishes depending on the type of additive used. Some common textures include sand finishes, popcorn textures, knockdown textures, or even faux finishes that mimic materials like brick or stone.
Each texture has its own unique characteristics and can be used strategically to conceal specific flaws. For example, sand finishes are great for hiding small cracks while popcorn textures can effectively disguise larger imperfections.
Identifying Common Wall Flaws
Identifying Common Wall Flaws
Nail holes, water stains, and uneven surfaces are some of the most common flaws that can mar the appearance of your walls. It’s essential to identify these issues before applying textured paint to ensure a smooth and flawless finish.
When assessing the severity of each flaw, start by examining nail holes. These small indentations left behind from hanging pictures or shelves can be easily filled with spackle or putty. Water stains, on the other hand, may require more attention. Look for discoloration or dark spots caused by leaks or moisture damage. Before painting over them, it’s crucial to address the source of the water intrusion and repair any underlying issues.
Uneven surfaces can be another challenge. Take note of any bumps, dents, or rough patches on your walls. These imperfections can be smoothed out using sandpaper or a joint compound before applying textured paint.
It is vital to address these wall flaws before painting for several reasons. Firstly, ignoring these flaws will only make them more noticeable once you apply paint. Secondly, they can affect the overall durability and longevity of your painted walls. By properly addressing these issues beforehand, you ensure a solid foundation for your textured paint application.
Preparing Walls for Textured Paint Application
To achieve a flawless result when applying textured paint to your walls, it is crucial to follow a step-by-step guide for wall preparation. This ensures that the texture adheres properly and creates the desired effect. Let’s explore some essential techniques for preparing your walls before applying textured paint.
Cleaning, Sanding, and Priming Techniques
Start by thoroughly cleaning the wall surface to remove any dirt, dust, or grease. A clean surface allows the textured paint to adhere better and ensures a smooth finish. Next, sand the walls using fine-grit sandpaper to create a slightly rough texture. This helps the paint grip onto the wall surface effectively.
After sanding, it’s important to prime the walls before applying textured paint. Primer creates a uniform base and improves adhesion, making sure that the texture stays intact over time. Choose a primer specifically designed for textured surfaces or consult with your local hardware store for recommendations.
The Importance of Proper Preparation
Properly preparing your walls sets the foundation for a successful textured paint application. Without adequate preparation, you may encounter issues such as uneven texture or peeling paint in the future. By taking the time to clean, sand, and prime your walls correctly, you can avoid these common problems and achieve professional-looking results.
Remember that each step in wall preparation plays an integral role in ensuring that your textured paint adheres well and provides long-lasting beauty to your space.
Selecting the Right Textured Paint for Your Walls
Textured paints can be a great solution. They not only add visual interest but also help to conceal imperfections on your walls. But with so many options available in the market, how do you choose the right textured paint for your walls? Let’s explore some factors to consider when making your selection.
Different Types of Textured Paints
There are various types of textured paints to choose from, each offering a unique look and feel. Some popular options include sand-textured paint, popcorn texture paint, and knockdown texture paint. Sand-textured paint creates a gritty finish that adds depth to your walls, while popcorn texture paint creates a bumpy effect resembling popcorn kernels. Knockdown texture paint, on the other hand, has a more flattened appearance with subtle textures.
Factors to Consider
When selecting textured paint for your walls, consider factors such as color, texture pattern, and durability. Choose a color that complements your interior design and enhances the overall aesthetic appeal of your space. Think about the type of texture pattern you prefer – whether it’s fine or coarse – as this will influence the final look of your walls. Lastly, opt for textured paints that are known for their durability and long-lasting finish.
Finding the Best Fit
To find the best-suited textured paint for your needs, assess what specific flaws or imperfections you want to address on your walls. If you’re dealing with minor cracks or uneven surfaces, a standard sand-textured paint might suffice. However, if you want to create a more dramatic effect or hide larger imperfections like dents or scratches, consider opting for a thicker texture like knockdown or popcorn.
Step-by-Step Guide to Applying Textured Paints
Follow a Detailed Guide for Professional Results
To achieve a flawless finish on your walls, it’s essential to follow a step-by-step guide when applying textured paints. By doing so, you can ensure that the process is smooth and the end result is aesthetically pleasing.
Firstly, gather all the necessary tools and materials before you begin. These may include brushes, rollers, paint trays, drop cloths, and of course, the textured paint itself. Having everything ready will save you time and prevent any interruptions during the application process.
Next, prepare your walls by cleaning them thoroughly and filling in any cracks or holes. This will provide a smooth surface for the textured paint to adhere to. Once your walls are clean and dry, apply a primer coat if recommended by the manufacturer.
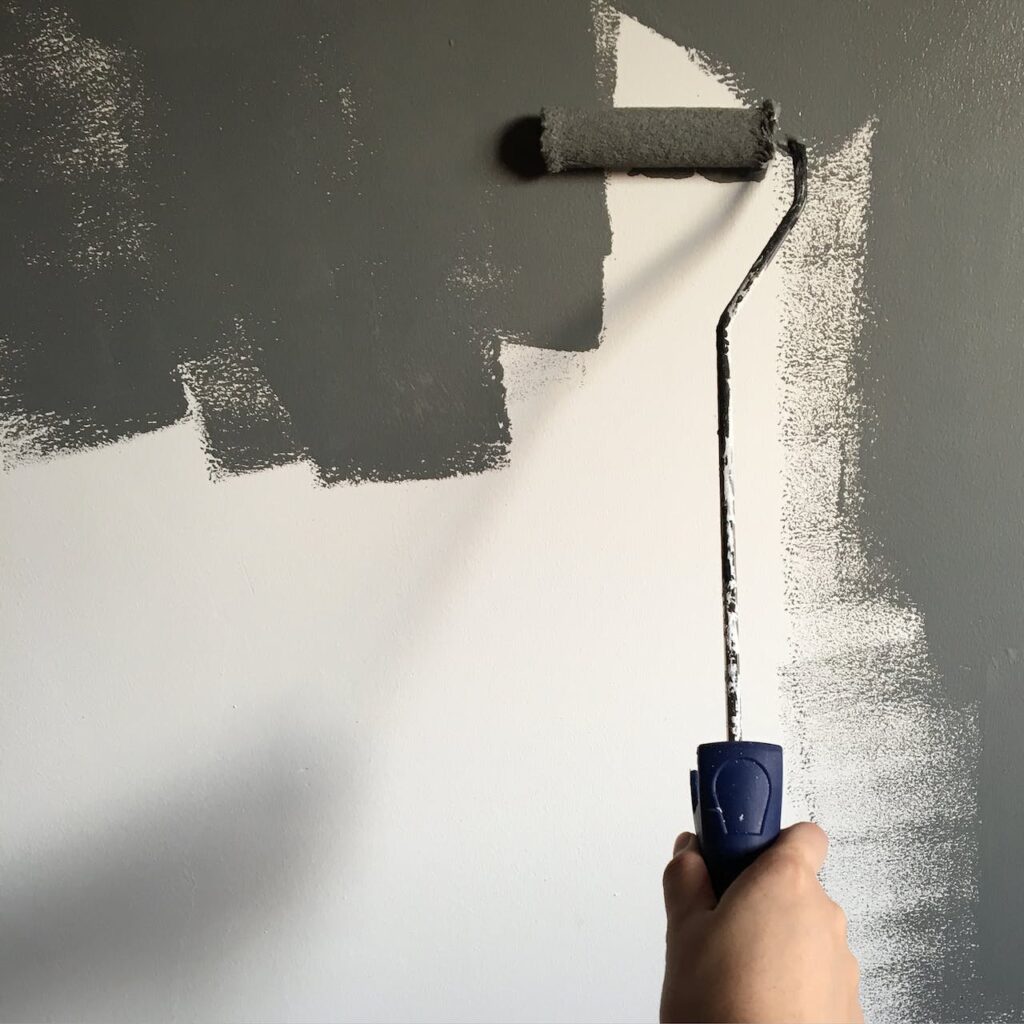
Now it’s time to start painting! Begin by cutting in along the edges of the wall using a brush. This will create crisp lines where the wall meets ceilings or corners. Then use a roller to apply the textured paint in even strokes across larger areas of the wall.
To achieve consistent texture patterns throughout your walls, make sure to use consistent pressure and technique while applying the paint. Experiment with different brush strokes or roller techniques to create varying textures if desired.
Once you have completed painting one section of your wall, move on to the next until all areas are covered with textured paint. Allow sufficient drying time as specified by the manufacturer before adding additional coats if needed.
By following this step-by-step guide and utilizing proper tools and techniques, you can achieve professional-looking results when applying textured paints to your walls.
Remember that practice makes perfect! Don’t be discouraged if your first attempt doesn’t turn out exactly as planned.
Maintenance and Longevity of Textured Paints
Properly Maintaining Textured Painted Walls
To ensure the longevity of your textured painted walls, it’s important to understand how to properly maintain them. Regular cleaning is essential, but it’s crucial to use methods that won’t damage the texture or paint.
Gentle Cleaning Methods
When cleaning textured painted walls, avoid using abrasive cleaners or scrub brushes as they can wear down the texture over time. Instead, opt for gentle cleaning solutions such as mild soap and warm water. Use a soft cloth or sponge to gently wipe away any dirt or stains.
Protecting Against Wear and Tear
One of the advantages of textured paints is their ability to withstand wear and tear over time. The texture itself helps to hide minor imperfections and can be more forgiving than regular paint. This makes textured paints an excellent choice for high-traffic areas in your home.
Durability of Textured Paints
Textured paints are designed with durability in mind. They are formulated to resist fading, cracking, and peeling, ensuring that your walls maintain their beautiful finish for years to come. Whether you have children who love to touch everything or pets that occasionally leave their mark, textured paints can stand up to daily life without losing their charm.
By properly maintaining your textured painted walls and utilizing the durability offered by these specialized paints, you can enjoy a long-lasting finish that adds character and style to your living space.
Conclusion
In conclusion, textured paints are a game-changer. From covering up cracks and imperfections to adding depth and character to your walls, textured paints offer a versatile solution that can transform any space. By understanding the science behind textured paints and identifying the most common wall flaws, you can effectively prepare your walls and select the right textured paint for your needs.
Applying textured paint is a step-by-step process that requires attention to detail, but with the right tips and tricks, you can achieve a professional finish that will last. The advantages of textured paints over traditional methods are clear: they are durable, easy to maintain, and provide a unique aesthetic appeal. So why settle for plain walls when you can enhance them with textured paints?
Take the leap and explore the world of textured paints. Whether you’re looking to repair existing flaws or add a touch of personality to your home, these paints offer endless possibilities. So grab your paintbrush and let your creativity shine!
Revitalize Your Home with Exquisite Textured Paints
Welcome to PaintMasters, the go-to specialists in textured paint applications in Concord, California. Since 1994, PaintMasters has been revolutionizing interior and exterior spaces, from cozy residences to dynamic commercial settings. Our expertise extends beyond mere color application; we focus on creating tactile experiences that transform your environment. Equipped with advanced technology like our 15,000 CFM spray booth, we ensure a textured finish that’s not only visually stunning but also tangible.
At PaintMasters, we offer an array of textured paint solutions. Our detailed preparation process, including sanding, priming, and drywall repair, guarantees that your surfaces are impeccably ready for the unique texture applications. Our skilled team, with their profound knowledge in various texturing techniques, works to rejuvenate and redefine your space, giving it a new dimension of sophistication. We are dedicated to achieving excellence on the first attempt, ensuring a seamless and delightful transformation of your home.
Are you prepared to elevate your home with our exquisite textured paints? At PaintMasters, we do more than just apply paint; we craft an atmosphere of depth and character. Reach out to us today to embark on your journey towards a home that not only looks extraordinary but feels extraordinary. Let’s collaborate to bring your vision to life, creating environments that exude style and distinction. Discover the PaintMasters difference – where every application is a step towards textural perfection. Contact us now to start the exciting transformation of your home!
